If you're venturing into the world of gardening or looking to upgrade your indoor growing setup, this guide is perfect for you. We'll be covering how to effectively set up a 16 Plant Micro Drip Irrigation Kit using 1-gallon pots. This is a superb way to ensure your plants get the consistent watering they need to thrive, without the hassle of manual watering.
Why Choose Micro Drip Irrigation?
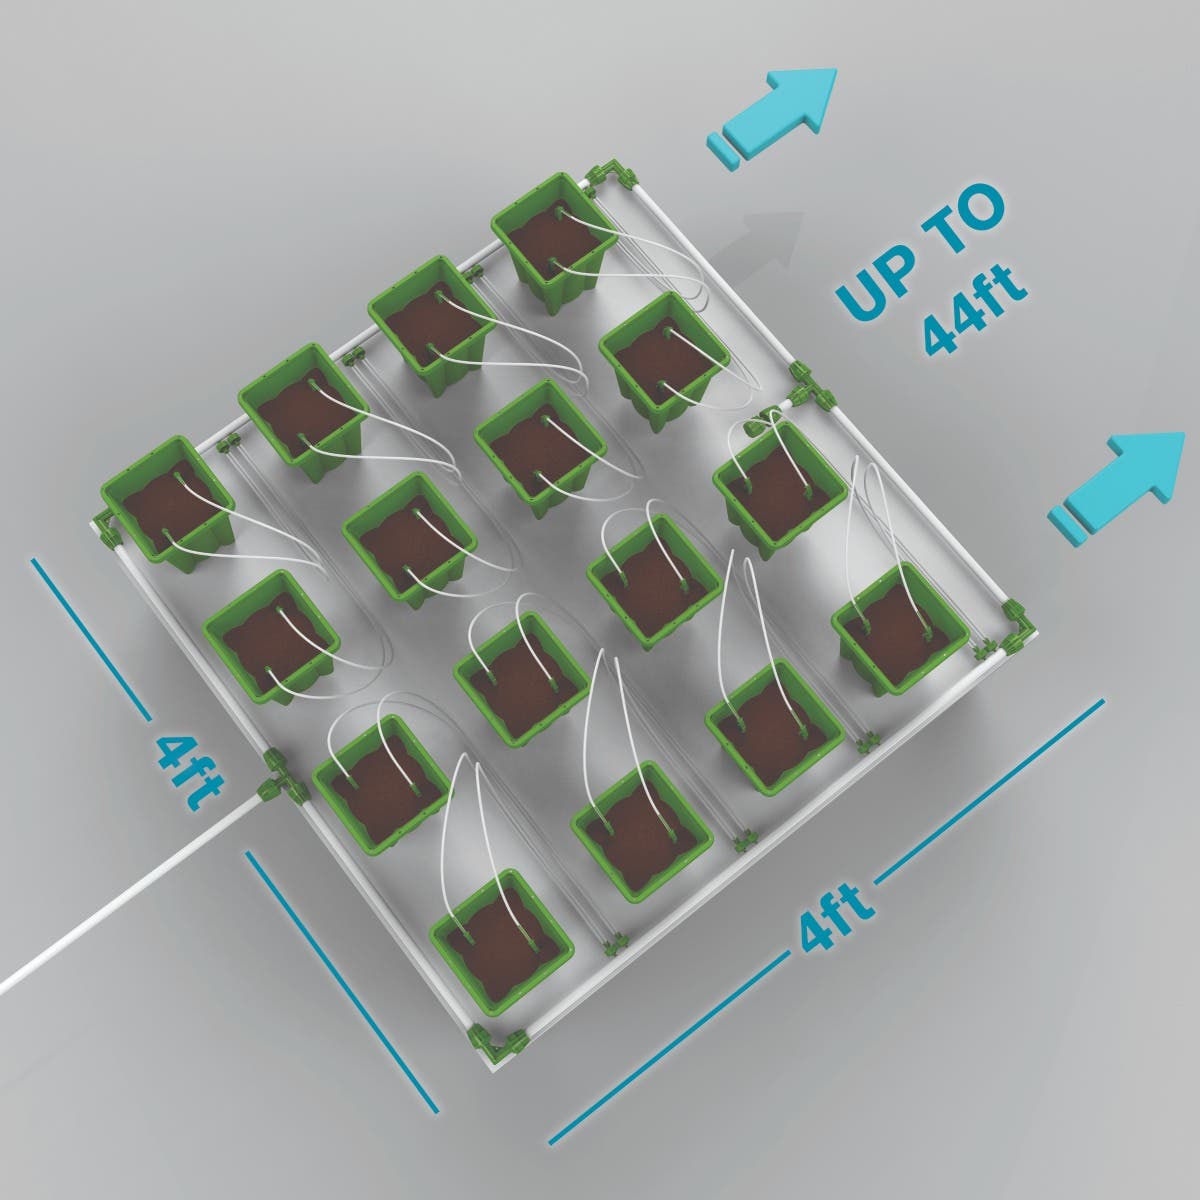
Micro drip irrigation systems are incredibly efficient and ideal for small-scale gardening. They offer precise watering directly to the plant roots, which means less water wastage and healthier plants. This setup is specifically suited for those using a 4'x4' growing area, making it a compact and efficient choice for home growers.
What You Will Need
To get started, you'll need the 16 Plant Micro Drip Irrigation Kit with 1 Gallon Pots. This kit is designed for use within a 4'x4' space and includes everything you need to set up an efficient irrigation system. This setup is perfect for hydroponic, coco, and soil applications.
Key Features of the Kit:
- 16 PotPro 1-Gallon Pots: These pots are designed to maximize root growth and prevent overwatering.
- Micro Drip Irrigation Components: Deliver water directly to the base of each plant, ensuring they receive the optimal amount of moisture.
- 4'x4' Coverage: Ideal for space management in small gardens or indoor grow tents.
Setting Up the 16 Plant Micro Drip Irrigation Kit
Step 1: Layout Planning
Start by planning the layout of your pots within the 4'x4' space. Ensure that each pot is evenly spaced to allow optimal growth and resource distribution.
Step 2: Assembling the System
- Position Your Pots: Place the 16 PotPro 1-Gallon Pots in the designated area. Make sure the soil or growing medium is ready.
- Connect the Drip Lines: Use the provided drip lines to connect each pot to the main waterline. This allows water to flow directly to the plant’s root zone.
- Install the Control Valves: Adjust the flow rate on each pot using the control valves to ensure each plant receives the right amount of water.
Step 3: Testing
Before you plant, test the system by running water through it. Check each connection for leaks and ensure water is evenly distributed.
Step 4: Planting
Once you're satisfied with the setup, plant your seeds or seedlings into the pots. Follow specific guidelines for each plant type to ensure best growth practices.
Maintenance Tips
- Regular Checks: Periodically check for any clogs or leaks in the system.
- Adjustments: Modify flow rates as needed to accommodate growing plants.
- Clean the System: Occasionally clean the lines to prevent buildup that could hinder water flow.
By following this guide, you'll have a robust setup that promotes healthy plant growth with minimal maintenance. For additional products and gardening solutions, visit FloraFlex.
Happy growing!